
MyCaseBuilder is filled with a variety of features to help you create the perfect case to hold your stuff. As you use the application, the appropriate options for what you are trying to create will automatically show up on your screen. Below are some examples of the most commonly used features.
The Menu
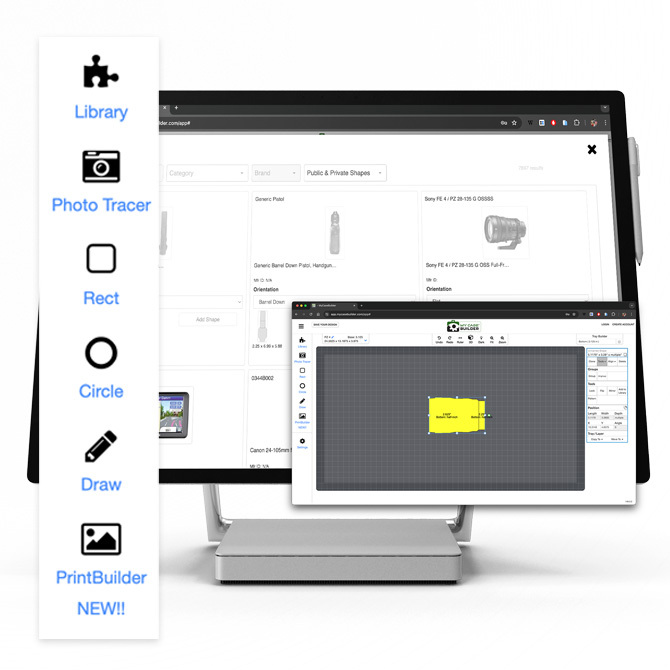
Once you are in the application, there is a menu on the left side of the screen.
The Shape Library
On the top of the menu is a link (the puzzle piece) to our Shape Library. We have cataloged thousands of commonly used shapes. See if your shape is in our library. If it is, just click on the shape and it will be automatically placed into the design grid. On the right of the screen are additional customization tools, such as adding finger notches and changing the position of your shape.
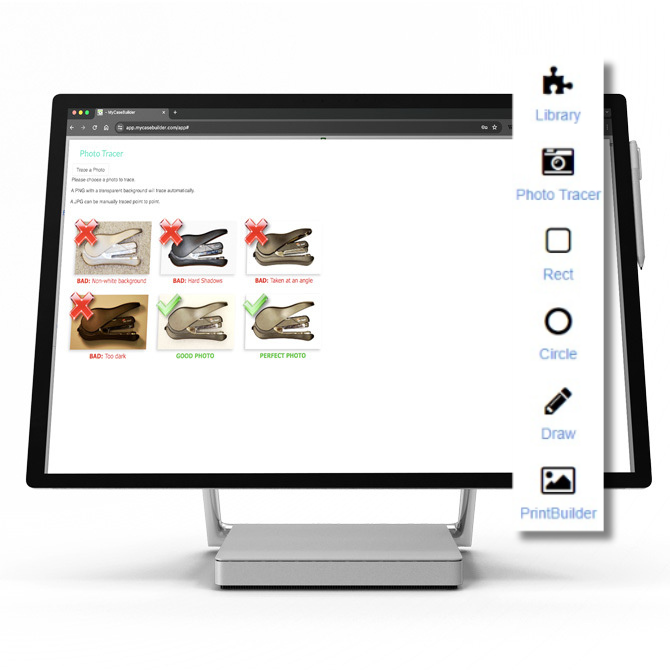
Photo Tracer
The second link in the menu is for our Photo Tracer. Our Photo Tracer lets you up upload a photo of your object and will remove the background for you by autotracing it. Click here for a video to see how it works.
The Draw Tools
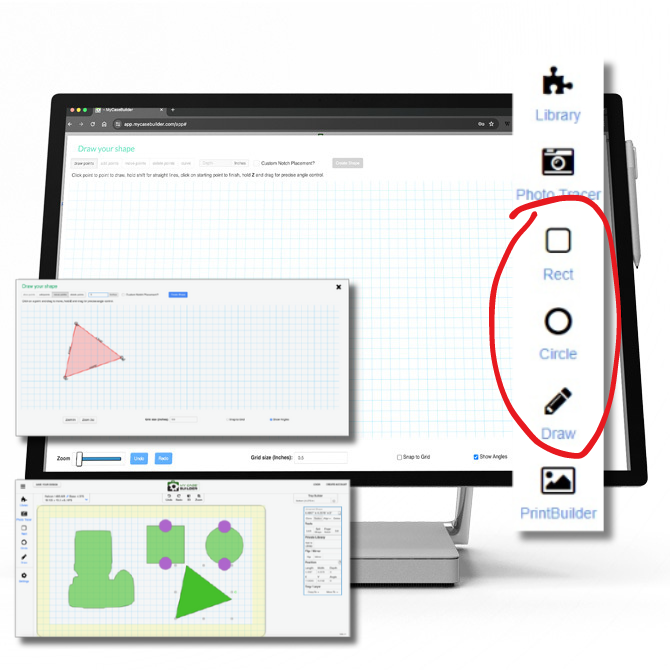
If you can’t find your shape in our Shape Library, you can create your own. There are three ways to do that, using the Rectangle tool, the Circle tool or the Draw tool. For the Rectangle and Circle, the app will ask for your dimensions.
The Draw tool will allow you to create your own shape and add it to your design grid. The right side menu on all the shape links has a variety of tools for further customization, such as adding finger notches and rotating the image.
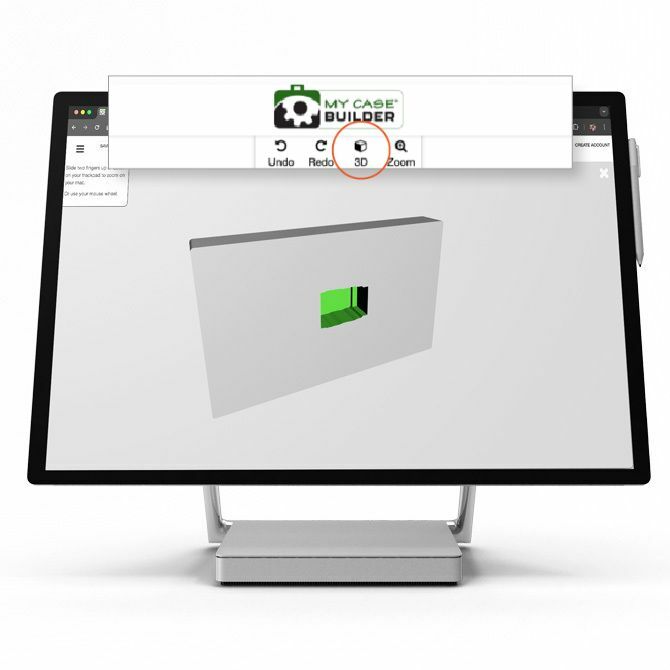
3D View
If you want to see what your custom-cut foam looks like in 3D, there is a link at the top of the screen.
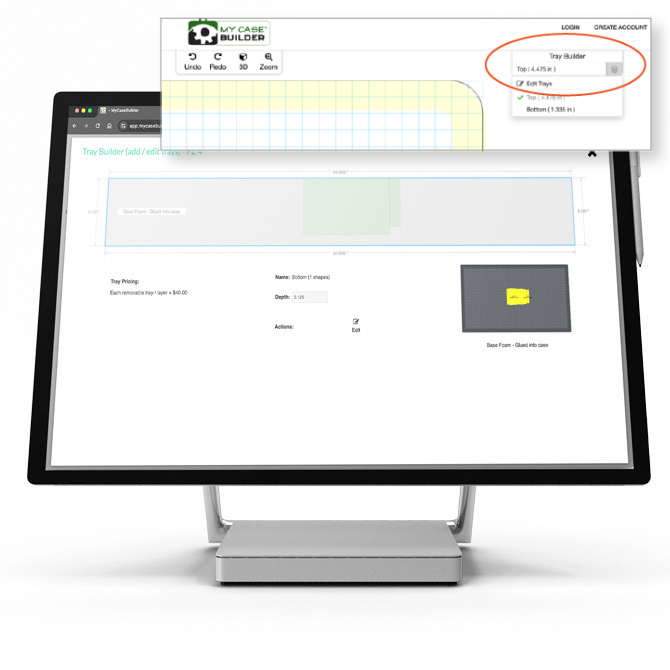
Tray Builder
If your case has sufficient depth, you can use our Tray Builder feature, at the top right, to create additional layers of custom-cut foam.
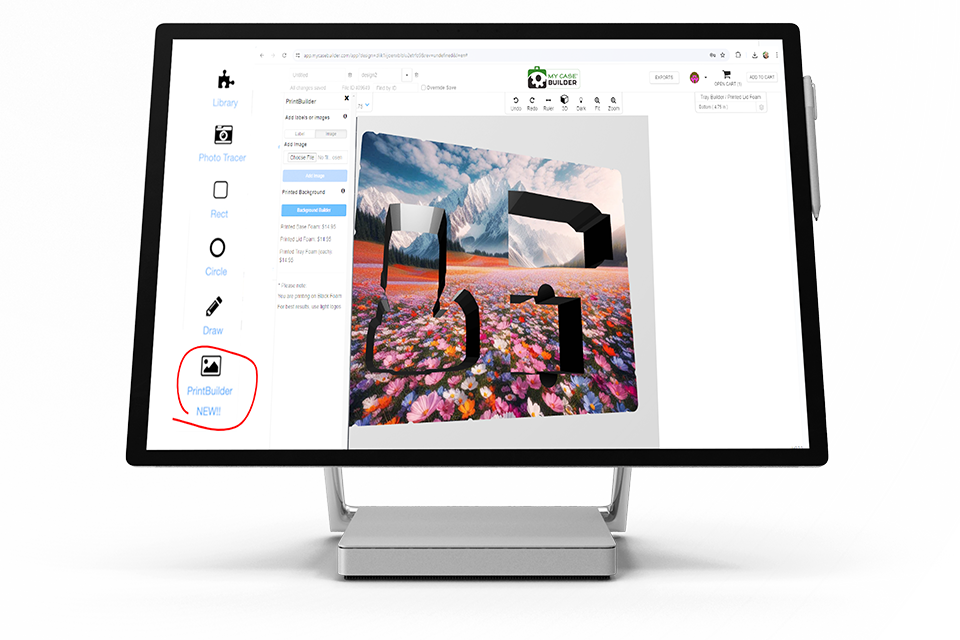
PrintBuilder™
PrintBuilder™ allows you to print direct-to-foam in full-color. Print logos, branding elements, unique designs, custom graphics, text, labels, QR codes, addresses, messages, instructions, and much more directly onto your foam.
Simply upload your artwork, move it, size it, and preview it in 3D. Then you're ready to go. A flat rate charge applies per surface.
